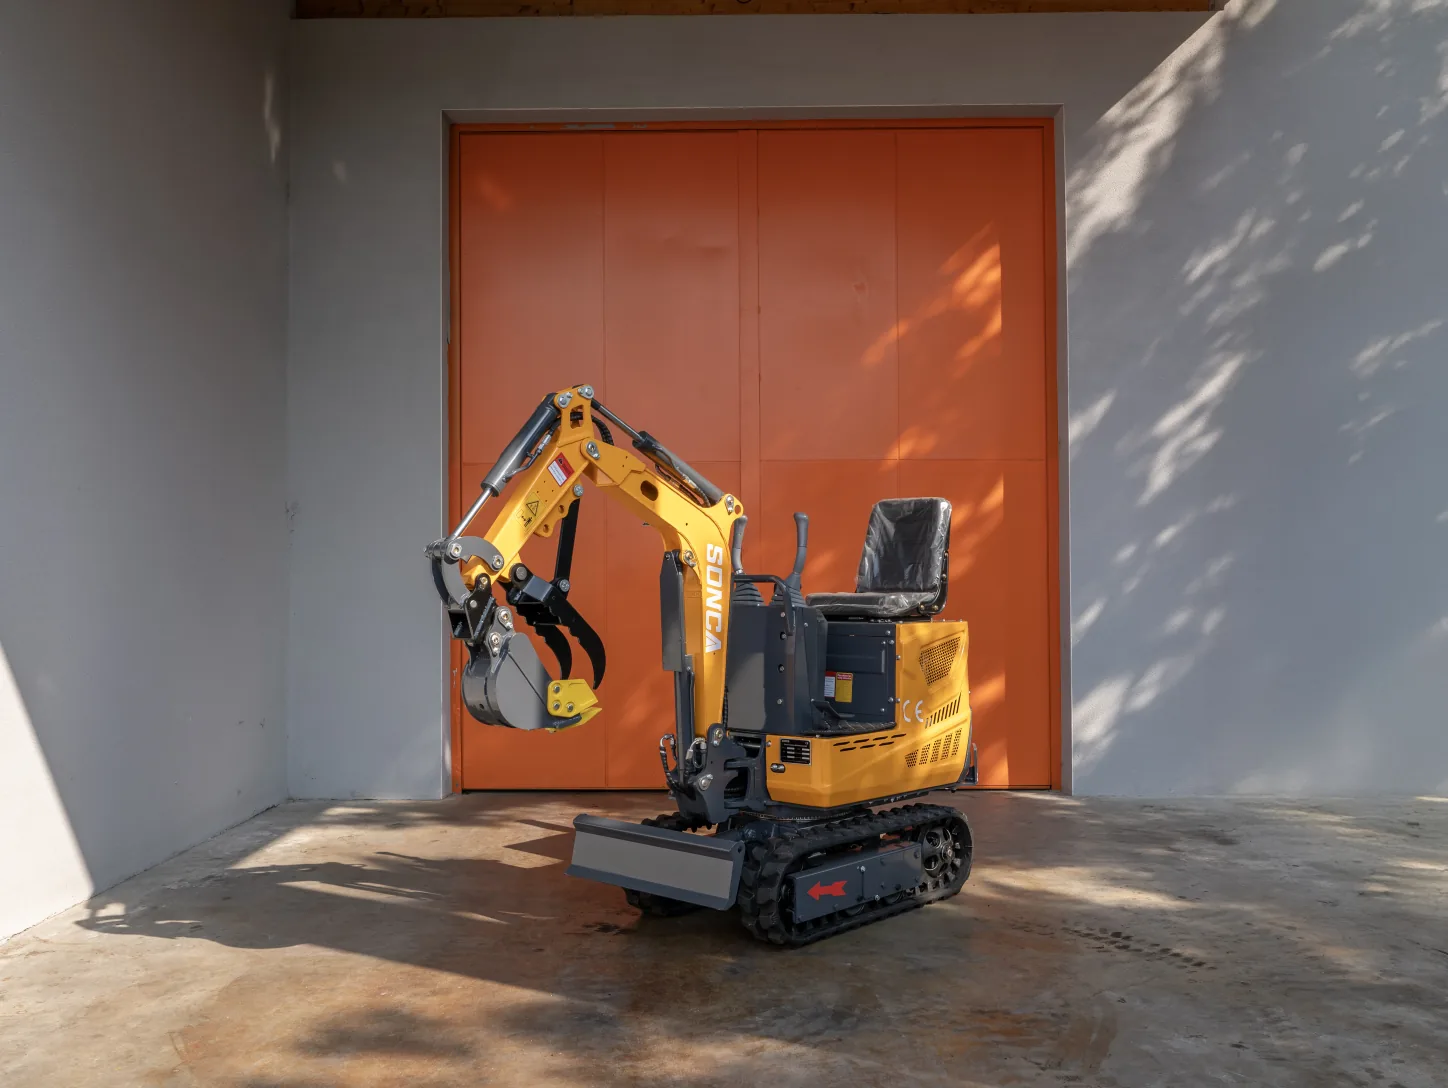
Digging a trench with a mini excavator remains one of the most frequent jobs, whether laying a water supply, a power cable, a fibre-optic duct or a drain. With a spade and pick, a trench of a few dozen metres means days of exhausting work. With a compact machine fitted with the right bucket, the job is done in a few hours, with clean walls and an even depth.
This guide reviews the suitable machine weight, the choice of bucket, recommended depths by utility and safe working practices. The goal: to let you open a compliant, tidy trench without over-sizing your equipment.
Why a mini excavator for a trench
The mini excavator combines three decisive advantages for linear earthworks. First, digging force: the hydraulic arm bites into compact, stony or clay ground that a spade could never break. Then consistency: by mastering the bucket, you get an even trench bottom, essential for the drainage fall of a waste-water or land-drainage line. Finally, compactness: the lightest models pass through a standard gateway and move around a garden without wrecking it.
Compared with a trencher (a specialist machine that only cuts narrow, fixed slots), the mini excavator offers far greater versatility: you adjust the width by changing bucket, you dig inspection chambers, you backfill the trench and you level with the blade. To understand how these machines work in detail, our guide "What is a mini excavator" covers the basics.
What weight for the depth
A mini excavator's weight governs digging depth, breakout force and stability all at once. For trenching work, there's no need to go too big: a light machine is enough in most residential cases.
| Type of job | Recommended weight | Context |
|---|---|---|
| Fibre, irrigation, shallow low-voltage cable trench | Micro excavator 1 to 1.8 t | Garden, tight access, shallow depth |
| Water/power supply, domestic drainage | Mini excavator 1.8 to 2.5 t | Typical residential ground, depth to ~1.5 m |
| Deep utilities, compact or stony ground | Mini excavator 2.5 to 3.5 t | Long trenches, difficult soil, high output |
For a homeowner or tradesperson opening occasional trenches around a house, a 1.8 to 2.5-tonne machine is the best compromise between power, size and transport. If you're unsure about the range, our guide "How to choose your mini excavator" details each criterion. You'll also find a selection of suitable models on the mini excavators page.
The trenching bucket: width & choice
It's the bucket, more than the machine, that determines a trench's quality. The main types are:
- The trenching bucket (or narrow bucket): width generally between 20 and 40 cm, ideal for opening an even slot without excavating more soil than necessary.
- The grading bucket (or wide / ditch-cleaning bucket): a flat, toothless edge, 80 to 120 cm wide, perfect for finishing the bottom, setting the fall and levelling after the line is laid.
- The standard bucket: versatile, handy for reopening a chamber or digging a one-off pit.
The rule: choose the bucket width as close as possible to the trench width you need. A bucket that's too wide multiplies the spoil, lengthens backfilling and adds needless work. Conversely, a bucket that's too narrow won't leave room to run a duct comfortably. For a simple electrical conduit, a 20 to 30 cm bucket is enough; to lay several lines side by side, step up to 40 cm.
Most mini excavators ship with several buckets, and changing takes a few minutes, especially with a quick-hitch. Discover the buckets and hitches available on the attachments page.
Need the right bucket for your trenches?
Narrow buckets, grading buckets, reinforced teeth: our team points you to the right kit for your soil.
Depths and widths by utility
Each type of utility has its own laying rules (minimum depth, warning tape, sand bed). The figures below are common benchmarks; always check the network operator's requirements and the applicable technical documents (standards in force, concession-holder specifications).
| Utility | Indicative depth | Watch-points |
|---|---|---|
| Drinking-water supply | Below the frost line (often 0.60 to 0.80 m) | Sand bed, blue tape, frost protection |
| Electricity (buried low voltage) | Around 0.50 to 0.85 m | Red duct, red warning tape |
| Telecoms / fibre | Around 0.40 to 0.60 m | Green duct, green tape |
| Waste water / drainage | According to fall and connection | Even drainage fall, bedding layer |
The coloured warning tape rule, laid roughly 20 to 30 cm above the line, is essential to flag a buried service during future works. So allow enough depth to fit the bedding, the line, the backfill and this tape.
Steps to dig cleanly
A successful trench follows a simple method:
- Locate existing utilities. Before any bucket work, complete the required works declarations and locate the buried networks. A severed pipe or cable is a major danger and cost.
- Set-out. Mark the trench line with a string line or paint. This guides the machine and keeps it straight.
- Positioning the mini excavator. Set the machine on stable ground, lower the dozer blade (front or rear) to stabilise, and work while backing up: you dig ahead of you without driving over the open trench.
- Digging in even passes. Work in layers, fill the bucket, place the spoil on one side only (to ease backfilling) and advance step by step. Keep an eye on depth with a marker or staff.
- Finishing the bottom. Finish with the grading bucket for a flat bottom or an even fall, depending on the utility.
- Laying then backfilling. After the sand bed, laying the line and the warning tape, backfill in layers while compacting. The mini excavator's blade helps push and spread the spoil.
To improve your operating and boom control, see our guides using a mini excavator and earthworks with a mini excavator.
Safety and regulations
Trenching carries real risks: wall collapse, contact with a service, machine tip-over. A few basic principles:
- Never go down into a deep, unshored trench. Beyond a certain depth, walls can collapse; shoring or battering the sides becomes necessary.
- Keep people clear of the arm's working radius and the machine's travel path.
- Stabilise the machine on level ground, use the blade, and avoid working over an already-open trench.
- Keep spoil away from the edge: a heap too close overloads the wall and encourages collapse.
On training, operating a mini excavator in a professional setting requires an authorisation to operate issued by the employer, generally based on the CACES R482 category A in France. For strictly private use on your own land, the CACES isn't compulsory, but training is still strongly recommended. Our guide CACES mini excavator details these obligations.
Budget and CZN solutions
Two options are open to you: rent or buy. Renting makes sense for a one-off job of a few days; beyond that, buying quickly pays off, especially if you multiply earthmoving and trenching jobs. Our comparison buy or rent a mini excavator helps you decide, and the guide mini excavator rental gives the cost benchmarks.
At CZN Machinery, a direct importer based in Toulouse, new mini excavators start from €4,125 excl. VAT, a price made possible by importing without a middleman. Every machine comes with a 2-year warranty, France-based aftersales, delivery across France and financing available via Sofinco. The machines are fitted as standard with Laidong engines (Kubota available to order): to compare, see our guide Laidong or Kubota.
If your budget is tight, the used range offers machines inspected on 50 points and covered by a 6-month warranty. And for a first look at market prices, see our guide mini excavator prices.
A trenching project coming up?
Tell us about your site: we'll advise on the right weight, bucket and machine.
In short, digging a trench with a mini excavator mostly comes down to matching three things well: a machine weight consistent with the target depth, a bucket of the right width, and compliance with safety and utility-laying rules. With the right equipment, the job becomes fast, clean and safe.