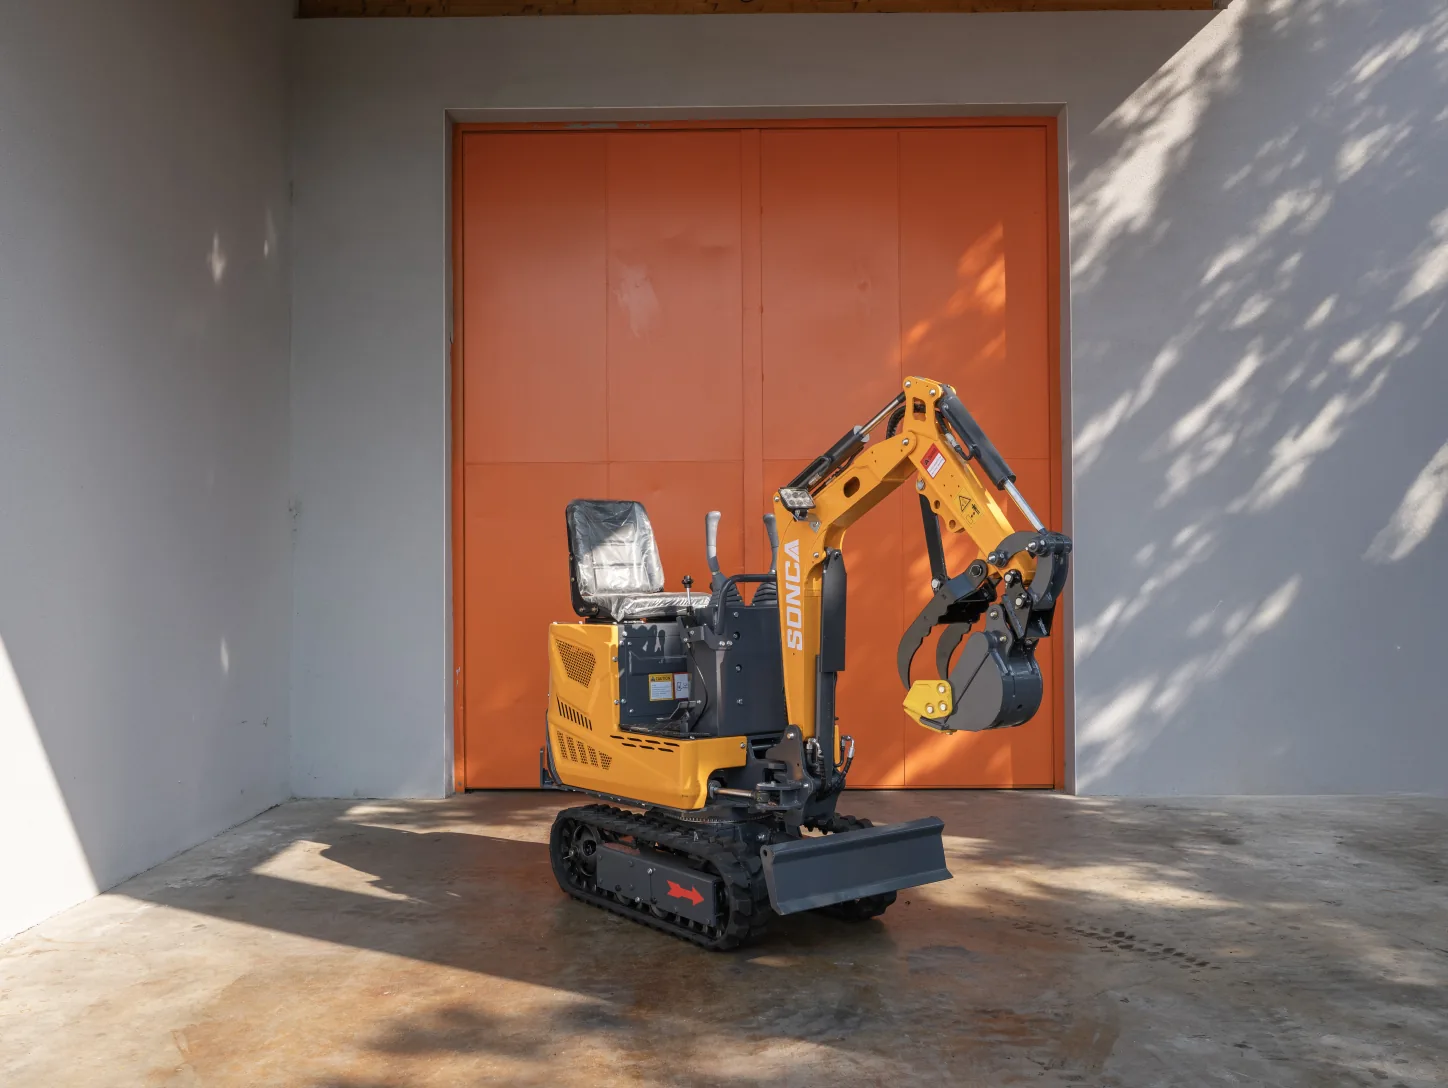
On a job site, the mini excavator is rarely used for just one task. Excavating, digging a trench, demolishing, boring planting holes, sorting rubble: each of these operations calls for a specific tool. That is precisely the benefit of a well-thought-out range of mini excavator attachments: a single machine becomes capable of tackling very different jobs in succession, without investing in several machines.
In this guide, we review the five most useful families of attachments — buckets, hydraulic breaker, auger, grapple and quick hitch — explaining what each one does in practical terms and how to check its compatibility with your machine.
Why attachments change everything
A mini excavator is above all a mobile hydraulic tool carrier. Its arm and hydraulic circuit provide the force; the attachment fitted at the end turns that force into useful action. Multiplying attachments therefore means multiplying the uses of a machine you have already bought or hired.
For a landscaping contractor, a farmer or an earthworks company, this logic is doubly rewarding: first because an attachment costs far less than a dedicated machine, and second because it is easy to transport and can be stored in a corner of the workshop. That said, you still need to choose tools genuinely suited to the weight, hydraulic power and hitch system of your mini excavator.
The quick hitch: the foundation of versatility
Before even talking about tools, we need to talk about how to fit them. The quick hitch (or quick coupler) is the part that lets you change attachment in an instant, without having to remove the pins manually every time.
There are two main types:
- The mechanical hitch: locking is done with a pin or a lever, and the operator gets off the machine to work it. Economical and reliable, it remains very common on small mini excavators.
- The hydraulic hitch: locking is controlled from the cab, which saves valuable time when you frequently switch tools. It requires a dedicated hydraulic line.
The key point to watch is dimensional compatibility: an attachment designed for a 1.5-tonne machine will not fit a 1-tonne micro excavator, and vice versa. This is why attachments are classified by weight range and hitch width. A standardised hitch system makes it much easier to add tools later on.
Unsure about compatibility?
Our advisers check the right hitch and hydraulic flow for your model before you buy any attachment.
Buckets: the everyday tool
The bucket is the basic attachment, the one that always stays with the machine. But talking about "the" bucket is an oversimplification: there are several types, each designed for a specific use.
| Type of bucket | Main use |
|---|---|
| Digging bucket (standard) | General excavation, loading, moving soil |
| Grading bucket (wide, toothless) | Levelling, sloping, finishing ditches and banks |
| Narrow bucket (200-300 mm) | Trenches for utilities and pipework |
| Tilting / angling bucket | Creating slopes, profiling banks |
A wide digging bucket is perfect for moving large volumes quickly, while a narrow bucket is essential for precise utility trenches. The grading bucket, wider and without teeth, is used for finishing work: levelling ground, smoothing a bank, cleaning out a ditch.
Many professionals equip their machine with two or three complementary buckets. This is often the most cost-effective investment, as it covers the vast majority of earthworks tasks.
The hydraulic breaker
The hydraulic breaker turns the mini excavator into a demolition tool. Powered by the machine's hydraulic circuit, it delivers rapid, powerful blows capable of breaking concrete, asphalt, masonry or rock.
It is the attachment of choice for:
- Demolishing a concrete slab or an old foundation;
- Breaking up a bituminous surface before resurfacing;
- Fragmenting rocky blocks in difficult earthworks.
The hydraulic breaker requires a sufficient hydraulic flow and a dedicated line on the machine. This is why it is essential to check that your mini excavator is fitted (or can be fitted) with a compatible auxiliary circuit. On heavier models, the breaker is used frequently; on micro excavators, it remains possible but with a reduced striking capacity. For large mineral demolition sites, the jaw crusher completes the chain by reducing rubble into reusable aggregates.
The auger for drilling
The hydraulic auger lets you bore neat, regular vertical holes into the ground. It consists of a hydraulic motor driving a helical bit, whose diameter is chosen according to the need.
Its typical uses:
- Planting trees, shrubs or vines;
- Installing fence posts, stakes or piles;
- Creating spot foundations (footings, pergolas, raised terraces);
- Holes for anchors and signage.
It is a particularly valued attachment in agriculture and landscaping, where it is a great replacement for manual drilling, which is slow and gruelling. The choice of bit (diameter, soil type: loose, stony, clay) determines how effective the drilling is.
The grapple and sorting grab
The grapple turns the mini excavator into a gripping tool. Its articulated jaws let you grip, move and load materials that a bucket would not hold properly.
It is used in particular to:
- Handle trunks, branches and green waste after pruning;
- Sort and load demolition rubble;
- Move stone blocks, pallets or bulky materials.
There are forestry grapples for wood and sorting grabs for recycling and demolition. For heavier forestry work — clearing plots, maintaining wooded edges — a radio-controlled forestry mulcher is a dedicated solution that complements the grapple.
Choosing your attachments wisely
Three criteria determine whether an attachment is the right fit:
- The weight and class of the machine: each attachment is calibrated for a tonnage range. A tool that is too heavy unbalances the machine and overloads the arm; too light, and it underuses the machine.
- The hitch system: the attachment's coupler must match that of the mini excavator (dimensions, pin spacing, mechanical or hydraulic type).
- Hydraulic requirements: breaker, auger and powered grapple require an auxiliary circuit. Check the available flow and pressure before buying.
If you are still hesitating over the machine itself, our guide on how to choose your mini excavator helps you pin down the tonnage and engine to suit your work — a useful step before assembling your set of tools. For a first purchase, it is best to start with a set of buckets and add specialised attachments as real needs arise.
Our full range of tools is gathered on the attachments page, where you will find buckets, hitches and equipment compatible with our various ranges.
Build your equipment set
Discover our selection of attachments compatible with Sonca and Xcavator mini excavators.
Maintenance and durability
A well-maintained attachment lasts several years and preserves the machine's performance. A few simple habits:
- Grease regularly the pins, joints and couplers, especially after working in mud or dust;
- Check the hydraulic connections of powered tools (breaker, auger, grapple) to prevent leaks;
- Check for wear on bucket teeth, auger bits and blades, and replace them before they damage the tool;
- Store in the dry, protected from corrosion, particularly steel parts.
These steps are part of the general routine described in our mini excavator maintenance guide. A well-cared-for attachment also retains better value should you one day decide to resell it with the machine.
In short, thinking "attachments" from the moment you buy your mini excavator means multiplying its potential. Bucket, breaker, auger and grapple cover the bulk of earthworks, demolition, planting and handling jobs. Our advisers are on hand to confirm the compatibility of each tool with your machine — do not hesitate to contact us.